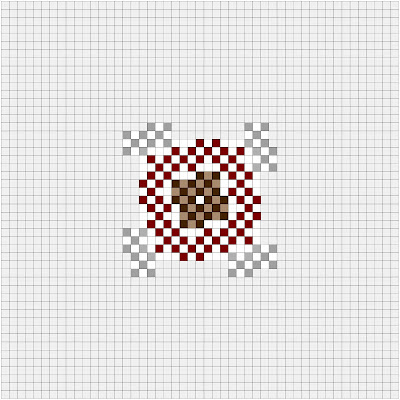
Whirl Update
If you are sewing along with me here are the next few steps.
You will need enough red and light 1-1/2" squares to make
12 Nine Patch blocks. Use the photos to assemble the next
round of the Whirl Quilt.
If you are sewing along with me here are the next few steps.
You will need enough red and light 1-1/2" squares to make
12 Nine Patch blocks. Use the photos to assemble the next
round of the Whirl Quilt.

Join the sections as pictured above. Set aside the additional
squares to finish off the Nine Patch blocks in the corners.

Finish off the Nine Patch blocks in the corners.
Here are a few things to keep in mind when
assembling the Whirl Quilt.
Hand Piecing
1. I am using a 1-1/2" rubber stamp to mark my squares.
2. I am not stitching in the seam allowances. This will
allow me to be able to add sections as I go.
Machine Piecing
1. Cut your squares as usual and stitch with a 1/4" seam allowance.
2. As with hand piecing do not stitch in the seam allowance. I did
go ahead and piece a section with the machine and was able to
get everything to go together with stitching in the seam allowances.
English Paper Piecing
1. This is probably the simplest assembly method.
2. You will need 1" squares and 1" x 3" rectangles.
You can order the paper pieces here.
1. This is probably the simplest assembly method.
2. You will need 1" squares and 1" x 3" rectangles.
You can order the paper pieces here.


Love this! I have my center block done and will continue now.
ReplyDeleteYou've got a good start. Another way to approach assembling this quilt would be to assemble the blocks into four sections - each a quarter of the quilt. Then stitch the quarters together with the offset in the middle. Instead of starting with a center block and stitching more 9patches around it.
ReplyDeleteThank you for this great project. I am using my 2022 repro scraps.
ReplyDeleteThis is an amazing pattern! Thanks for sharing.
ReplyDeleteFrom Janie @ crazyvictoriana.blogspot.com
ReplyDelete